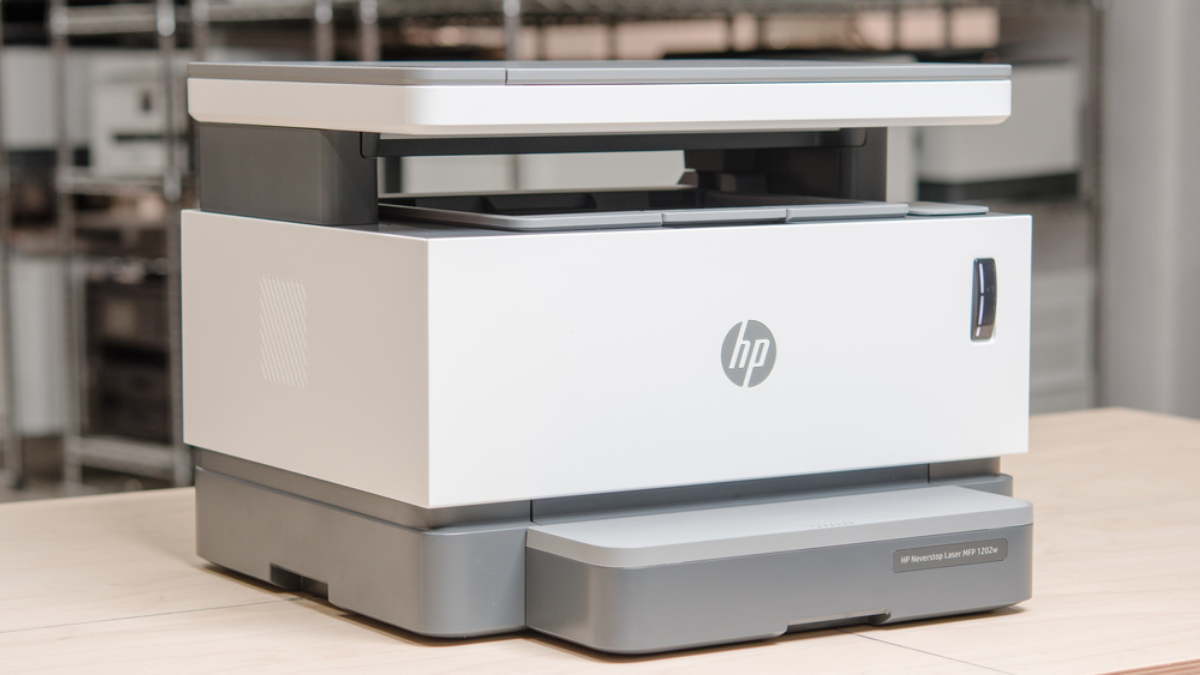
In today’s digital world, a wireless printer setup can significantly enhance convenience and productivity. However, users often face difficulties in connecting their HP printer to Wi-Fi due to incorrect settings, outdated drivers, or network interference. This guide will take you through a step-by-step troubleshooting process to help resolve HP printer Wi-Fi connectivity issues efficiently.
Understanding the Problem
Many users experience connectivity issues with their HP printers due to various reasons, such as weak network signals, incorrect configurations, outdated firmware, or router settings. Identifying the root cause is essential to resolving the issue effectively. Some common symptoms of Wi-Fi issues include:
- The printer is not detecting the Wi-Fi network.
- The printer repeatedly disconnects from the network.
- Print jobs are stuck in the queue due to connectivity problems.
- The printer status shows as offline on the computer or mobile device.
Preliminary Checks Before Troubleshooting
Before diving into detailed troubleshooting steps, conduct the following preliminary checks:
- Check your internet connection – Ensure your Wi-Fi network is functioning properly and there are no service outages.
- Place the printer within range – Ensure the printer is positioned close to the router for a strong signal.
- Verify login credentials – Double-check that you are entering the correct Wi-Fi password when connecting.
- Check for interference – Reduce potential interference from other electronic devices (e.g., microwaves, baby monitors, cordless phones).
- Ensure drivers and firmware are up to date – Using outdated drivers or firmware can cause connectivity problems.
Step-by-Step Guide to Troubleshooting HP Printer WiFi Issues
Step 1: Restart Devices
A simple restart can resolve many connectivity issues. Follow these steps:
- Turn off and unplug your HP printer.
- Restart your Wi-Fi router by turning it off, waiting for 30 seconds, and turning it back on.
- Restart your computer or mobile device before attempting to reconnect.
After restarting, try connecting the printer to Wi-Fi again and check if the issue is resolved.
Step 2: Ensure Correct Wi-Fi Network
- Verify the network name (SSID) and password are correctly entered on the printer.
- Ensure your printer and device are connected to the same Wi-Fi network.
- Check for network interference from other devices that might disrupt the connection.
- Use a wired connection (Ethernet or USB) if the wireless connection remains unstable.
Step 3: Update Printer Firmware and Drivers
Outdated printer firmware or drivers can cause connection issues. To update:
- Go to the HP official website and check for the latest firmware and driver updates.
- Download and install any available updates for your printer model.
- Restart the printer after updating to apply changes.
Step 4: Check Router Settings
Your router settings can impact the printer’s ability to connect. Check the following:
- Ensure your router supports both 2.4 GHz and 5 GHz bands – Some HP printers only work on 2.4 GHz.
- Disable MAC address filtering if it is enabled, as it may block the printer.
- Check if DHCP is enabled, allowing the router to assign an IP address to the printer.
- Reduce network congestion by limiting the number of connected devices.
Step 5: Reset Network Settings on the Printer
If your printer is still not connecting, resetting the network settings can help:
- Navigate to the printer’s settings menu.
- Select “Reset Network Settings” or “Restore Default Settings”.
- Reconnect to Wi-Fi using the standard setup process as outlined in the initial setup guide.
Step 6: Advanced Troubleshooting
If basic troubleshooting hasn’t worked, try these advanced steps:
- Assign a static IP address to the printer to avoid connectivity drops.
- Use the HP Smart app to check the connection and reconfigure Wi-Fi settings.
- Temporarily disable firewalls and antivirus software to rule out interference.
- Reset the printer to factory settings and set it up again from scratch.
Additional Troubleshooting Tips
1. Fixing “HP Printer Offline” Error
- Open Control Panel > Devices and Printers.
- Right-click on your HP printer and select See what’s printing.
- Click on Printer and uncheck Use Printer Offline if selected.
2. Troubleshooting Using HP Print and Scan Doctor
- Download and install HP Print and Scan Doctor from the HP support website.
- Open the tool and run a scan to diagnose and fix any connection issues automatically.
3. Reconnecting HP Printer to Wi-Fi Using WPS (Wi-Fi Protected Setup)
If your router supports WPS, follow these steps:
- Press and hold the WPS button on the router for a few seconds.
- Press the WPS button on the printer within two minutes.
- Wait for the printer to establish a connection.
Conclusion
Connecting your HP printer to Wi-Fi can sometimes be challenging, but following a structured troubleshooting approach can help resolve most connectivity issues. By restarting devices, ensuring the correct network settings, updating firmware, and checking router configurations, you can ensure a seamless wireless printing experience. If problems persist, advanced troubleshooting methods like assigning a static IP, disabling firewalls, or performing a factory reset may help restore connectivity.
With these steps, you should be able to diagnose and resolve most HP printer Wi-Fi issues efficiently, ensuring smooth and uninterrupted printing from your devices.
