Keeping your HP printer in peak condition means more than just refilling paper and ink. One of the most overlooked yet crucial tasks in HP printer maintenance is ensuring the printer head is clean. This blog is your complete guide to understanding, cleaning, and caring for your HP printer head. Whether you’re troubleshooting print quality issues or proactively maintaining your device, this guide will walk you through printer head cleaning HP style, from start to finish.
Know Your Printer’s Heart: The Printer Head Explained
The printer head is the component responsible for placing ink onto the paper. In HP printers, it’s typically built into the ink cartridge or is a separate, replaceable unit. The head contains nozzles that spray microscopic ink droplets in precise patterns to create text and images. These tiny nozzles can easily become clogged with dried ink, especially if the printer is not used regularly. Knowing how the printer head works is essential to recognizing problems and ensuring optimal performance.
What Exactly Is a Printer Head?
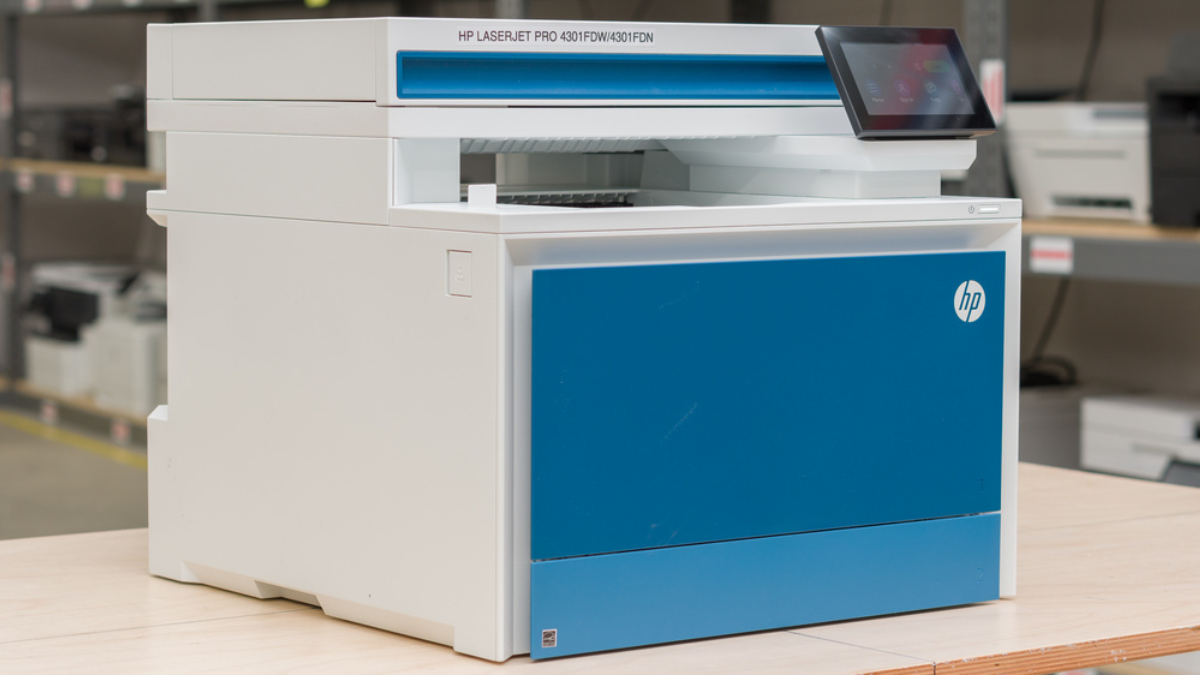
A printer head is essentially the bridge between digital documents and physical prints. It includes a system of nozzles, circuits, and sometimes heat-based technology that work together to eject ink onto paper. In HP printer head cleaning, understanding whether your printer has an integrated or separate printhead helps determine your approach. Integrated heads (in cartridge) are replaced with the ink cartridge, while stand-alone heads require manual cleaning or replacement. This makes knowing your HP printer model important before starting any cleaning procedure.
How Clogs Disrupt Your Prints
When printer heads are clogged, the ink flow is restricted or completely blocked. This leads to faded prints, missing colors, or streaks—signs that compromise your print quality. In pigment-based inks, especially, dried ink residues can accumulate in the nozzles. Regular use keeps ink flowing, but infrequent use increases the chance of clogs. The more clogged your printer head gets, the harder it becomes for cleaning cycles to fix the issue. Severe clogs might even damage your print head permanently.
Red Flags: When It’s Time to Clean the Head
Common signs that your HP printer head needs cleaning include faded text, streaks across your prints, color inaccuracy, and blank areas. Another indicator is when test pages or alignment prints don’t show all colors. These signs suggest that ink isn’t flowing properly through the nozzles. Recognizing these symptoms early can save time and ink. Running a diagnostic or test print is a good way to confirm if the print head is the issue. Modern HP printers even have built-in alerts or prompts when head cleaning is required.
Gather Your Tools: What You’ll Need
Before starting HP printer head cleaning, gather all necessary tools and supplies. You’ll need lint-free cloths, distilled water or isopropyl alcohol, cotton swabs, gloves, and a workspace with good lighting. Make sure the printer is turned off and unplugged to avoid damage. Some advanced models require specific cleaning kits available online or from HP. Read your printer’s manual or support site to confirm the correct method. Having everything ready reduces interruptions and improves your chances of a successful clean.
The Step-by-Step Cleaning Blueprint
- Turn off and unplug your printer.
- Open the printer cover to access the cartridge area.
- Carefully remove the ink cartridges and set them aside on a clean paper towel.
- Locate the printer head. If removable, gently detach it following your printer’s guide.
- Use a lint-free cloth lightly dampened with distilled water to wipe the nozzles.
- For stubborn clogs, use a cotton swab dipped in isopropyl alcohol.
- Allow the printer head to dry completely before reinstalling.
- Reinsert the cartridges and power on the printer.
- Run a cleaning cycle or print a test page.
Repeat if necessary. Always follow model-specific instructions to avoid damage.
Cleaning Didn’t Help? Troubleshooting Tips
If printer head cleaning HP style doesn’t solve the issue, try running the built-in cleaning utility from your printer’s software. Most HP printers have basic and deep cleaning options. If neither works, check ink cartridge levels, alignment settings, and firmware updates. Low ink or outdated firmware can also mimic clogged head symptoms. Also, ensure you’re using genuine HP ink, as third-party ink can cause blockages. Still no luck? Remove the print head again and soak it in distilled water overnight, then retry the cleaning steps.
Going Pro: When to Seek Professional Help
If you’ve repeated the cleaning process and still see print issues, it might be time for professional servicing. Authorized HP service centers can run deep-cleaning cycles not available to end-users. They also have tools to detect electrical faults in the print head or its control board. If the printer head is damaged beyond repair, replacing it might be more cost-effective than replacing the entire printer. Knowing when to escalate to a technician is key to saving money and avoiding frustration.
Add These Habits to Your Maintenance Routine
To reduce the need for frequent HP printer head cleaning, adopt a consistent HP printer maintenance routine. Use the printer at least once a week to keep ink flowing. Always turn off the printer properly using the power button, not just by unplugging it. Store the printer in a dust-free environment and away from extreme temperatures. Keep extra ink cartridges sealed until use, and never refill cartridges unless you’re confident about quality and compatibility. These habits extend your printer’s life and reduce repair costs.
Wrap-Up: Clean Print Starts with a Clean Head
Whether you’re printing family photos or business documents, consistent print quality starts with a clean printer head. Knowing how to clean your HP printer head gives you control over the longevity and performance of your machine. Follow the step-by-step guide above, troubleshoot wisely, and know when to seek help. Incorporate routine HP printer maintenance, and you’ll enjoy crisp, vibrant prints without frustration. When in doubt, always refer to HP’s official support channels or consult your printer manual.
Bonus: Extra Tips and Tricks for Stubborn Clogs
If you’ve already tried multiple cleans and test prints, here are some bonus tips to try:
- Use the printer’s “Deep Cleaning” feature if available, which applies more aggressive ink flow pressure to clear clogs.
- Take a soft lint-free cloth and gently clean around the cartridge contact points inside the printer to ensure no ink residue is preventing communication.
- Soak removable print heads overnight in a shallow dish of warm distilled water to loosen hardened ink. Avoid submerging electrical contacts.
- Refill low ink cartridges before they run completely dry to avoid drying out the nozzles.
- If you frequently deal with clogs, consider switching to pigment-free ink or using HP’s instant ink services, which help prevent dry cycles.
Remember, consistent care is key. Don’t wait until the issue becomes too advanced—clean regularly and monitor performance.