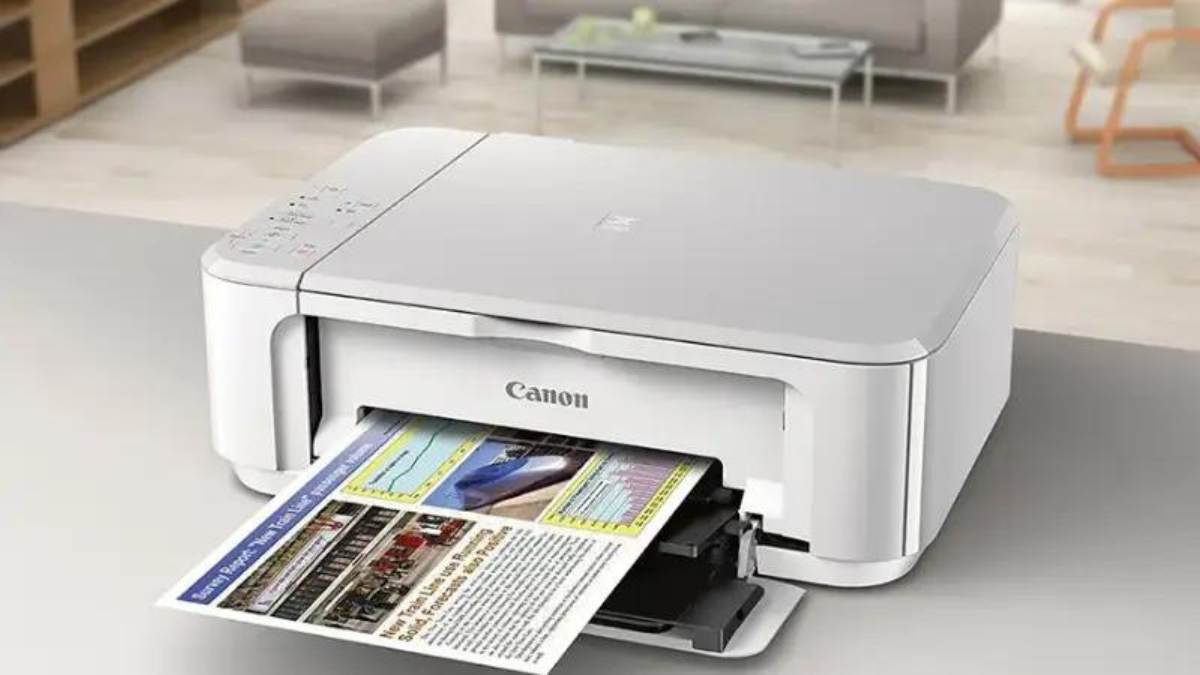
Whether you’re setting up your printer for the first time or performing a Canon printer ink replacement, installing a new ink cartridge doesn’t have to be stressful. With a bit of guidance, you can master how to install a Canon ink cartridge correctly and keep your prints looking sharp and professional.
This step-by-step guide is crafted especially for beginners. We’ll walk you through everything—from unboxing to printing your first page after installation. By the end of this guide, you’ll feel confident every time your printer flashes the “low ink” warning.
What You’ll Need: Get Ready to Replace Canon Ink
Before diving into how to install a Canon ink cartridge, gather all the essentials. You don’t want to be halfway through the process and realize something’s missing.
Here’s what you’ll need:
- A compatible Canon ink cartridge (check your printer manual or model online)
- Clean, dry hands or gloves to avoid ink stains
- A soft, lint-free cloth for cleaning any potential leaks or contacts
- Your Canon printer powered on and accessible
Understanding which ink cartridge fits your printer model is crucial. Using the wrong one could result in poor performance or even damage. If you’re unsure, Canon’s official website has a tool to help you identify the right ink for your specific model.
Being fully prepared is the first step in successful Canon printer ink replacement. Once you’ve got everything ready, you’re set to move on to prepping your printer.
Power Up and Prep: Ready Your Canon Printer
Before installing or removing cartridges, make sure your printer is on and operational. Most Canon models require the printer to be powered for the ink cartridge holder to move into position.
Here’s how to get started:
- Turn on your Canon printer using the power button.
- Wait for it to finish any startup processes.
- Lift the top or front cover, depending on your printer model.
- The cartridge holder should automatically shift to the center.
If the cartridge holder doesn’t move, refer to your printer manual or try gently closing and reopening the cover.
Preparing your printer properly ensures safe access to the ink slots and prevents mechanical issues. It also reduces the chance of incorrect installation, one of the most common issues people face when learning how to install a Canon ink cartridge.
Out with the Old: Removing Used Cartridges Safely
Now it’s time to take out the old cartridge. This is a key part of any Canon printer ink replacement process and must be done carefully.
Follow these steps:
- Wait until the cartridge holder stops moving.
- Identify the empty or low ink cartridge—usually marked with a red blinking light or message.
- Press down gently on the cartridge latch or release tab.
- Carefully pull the cartridge out of the slot.
Be cautious not to force it out. Removing the cartridge too roughly could damage the contacts or the holder mechanism.
Place the used cartridge on a piece of newspaper or paper towel to catch any ink drips. Many stores offer recycling options, so don’t throw it in the trash—check with your local office supply store for eco-friendly disposal.
With the old cartridge removed, you’re halfway through learning how to install a Canon ink cartridge correctly.
Fresh Ink: Unboxing and Preparing Your New Cartridge
With the old cartridge out, it’s time to prepare your new Canon ink cartridge for installation.
Here’s what to do:
- Carefully open the cartridge box and remove all packaging.
- Remove the plastic cover and protective tape from the cartridge nozzle and contacts. These are usually highlighted in orange or yellow.
- Hold the cartridge by its sides to avoid touching the electrical contacts or ink nozzles.
- Inspect the cartridge for any visible damage or leaks.
Proper handling at this stage is essential. Touching the ink nozzle or copper contact area could interfere with proper installation or print quality. Also, don’t shake the cartridge—this can cause leaking.
Prepping your cartridge is a key part of understanding how to install a Canon ink cartridge effectively. It ensures a secure fit and optimal print performance once installed.
Slide It In: Installing Your Canon Ink Cartridge
Now we’ve reached the most important part—installing the new ink cartridge into your printer.
Here’s a safe and simple method:
- Align the cartridge with the corresponding slot.
- Slide it in gently, ensuring it’s facing the right way (check the markings for color and orientation).
- Push up or down on the cartridge until it clicks securely into place.
- Double-check that it’s seated evenly and matches the color-coded slot.
Avoid forcing the cartridge—it should slide in smoothly. If you feel resistance, double-check if you’re placing it in the correct slot.
Canon designs its cartridges and holders with precision, so alignment is critical. Poor placement could result in printing errors, leaks, or malfunction alerts.
Once installed, you’re only a couple of steps away from completing your Canon printer ink replacement like a pro.
Lock and Load: Closing Up and Power Cycling
With your new cartridge securely in place, it’s time to finalize the process.
Here’s what to do:
- Lower the top or front cover of your Canon printer.
- Wait a few moments while the printer initializes.
- You’ll likely hear a few mechanical sounds—this is the printer recognizing the new cartridge.
- Check your printer’s screen or software to confirm the cartridge is detected.
Powering on and closing the lid properly helps your Canon printer recalibrate. Some models will show a prompt or status notification indicating a successful cartridge installation.
This step is vital. Skipping it could result in misalignment or error messages, making it harder to understand how to install a Canon ink cartridge effectively on your own in the future.
Once the system accepts the new ink, you’re ready to print.
Print Check: Run Alignment or Test Page
Running an alignment or test print is the final verification step for any Canon printer ink replacement.
Here’s how to do it:
- From the printer menu, select “Maintenance” or “Setup.”
- Choose “Print Head Alignment” or “Test Print.”
- Follow the prompts and allow the printer to print a sample page.
- Check the print quality—there should be no streaks or misaligned lines.
Aligning the cartridge ensures that ink is being distributed properly across the paper. It also helps the printer calibrate color balance and density.
If the print is clean and sharp, your installation was a success! If not, your Canon printer may offer an automatic cleaning cycle to improve output.
Understanding how to install a Canon ink cartridge includes knowing how to verify your setup. A test print is your final assurance.
Fix It Fast: Common Cartridge Problems Solved
Even with the right steps, you might encounter issues. Here’s how to solve the most common ones:
1. Cartridge Not Recognized
- Remove and reinstall the cartridge.
- Clean the contacts with a lint-free cloth.
- Make sure it’s the right cartridge for your printer model.
2. Ink Smudges or Faded Prints
- Run a cleaning cycle via printer settings.
- Check if the protective tape was fully removed.
3. Flashing Error Lights
- Refer to your manual to interpret the flash pattern.
- Try turning the printer off and on again.
Learning how to install Canon ink cartridge also means learning to troubleshoot. With a little patience, most problems can be resolved in minutes.
Pro Tips: Make Your Canon Ink Last Longer
Canon ink cartridges aren’t cheap, so getting the most out of them matters. Here are some smart ways to extend cartridge life:
- Use Draft Mode for everyday printing to save ink.
- Print regularly to prevent ink from drying out.
- Keep the Printer On: Frequent on/off cycles waste ink during startup.
- Store Spare Cartridges properly—in a cool, dry place.
- Avoid Low-Ink Panic: Most printers still work well with a low ink warning.
These habits won’t just save money—they’ll also ensure better print quality and longer printer life. Knowing how to install a Canon ink cartridge is important, but knowing how to make them last. Even better.
Final Thoughts: You’re Now a Canon Cartridge Pro
Congrats! You now know exactly how to install a Canon ink cartridge and handle the full Canon printer ink replacement process from start to finish.
With a bit of practice, replacing ink will become second nature. No more panicking over blinking lights or last-minute school assignments. Whether you’re printing documents, photos, or business materials, your Canon printer is ready to deliver.
Keep this guide handy for your next refill and share it with anyone struggling with their own printer setup. Mastering these basics means fewer errors, cleaner prints, and more peace of mind.
FAQs
1. How do I know when it’s time to replace my Canon ink cartridge?
Most Canon printers show a low ink warning on the display or through your connected computer. Prints may also appear faded or streaky when it’s time for a new cartridge.
2. Can I install a Canon ink cartridge while the printer is off?
No. Your Canon printer needs to be on so the cartridge holder can move into position. Installing ink while the printer is off can cause issues or damage.
3. Why does my printer not recognize the new cartridge?
Ensure you’ve removed all protective packaging, especially the sealing tape. Double-check that you’re using a compatible cartridge model for your Canon printer.
Would you like this formatted into HTML or uploaded to a blog platform like WordPress? I can also help design matching featured images or suggest internal linking strategies.