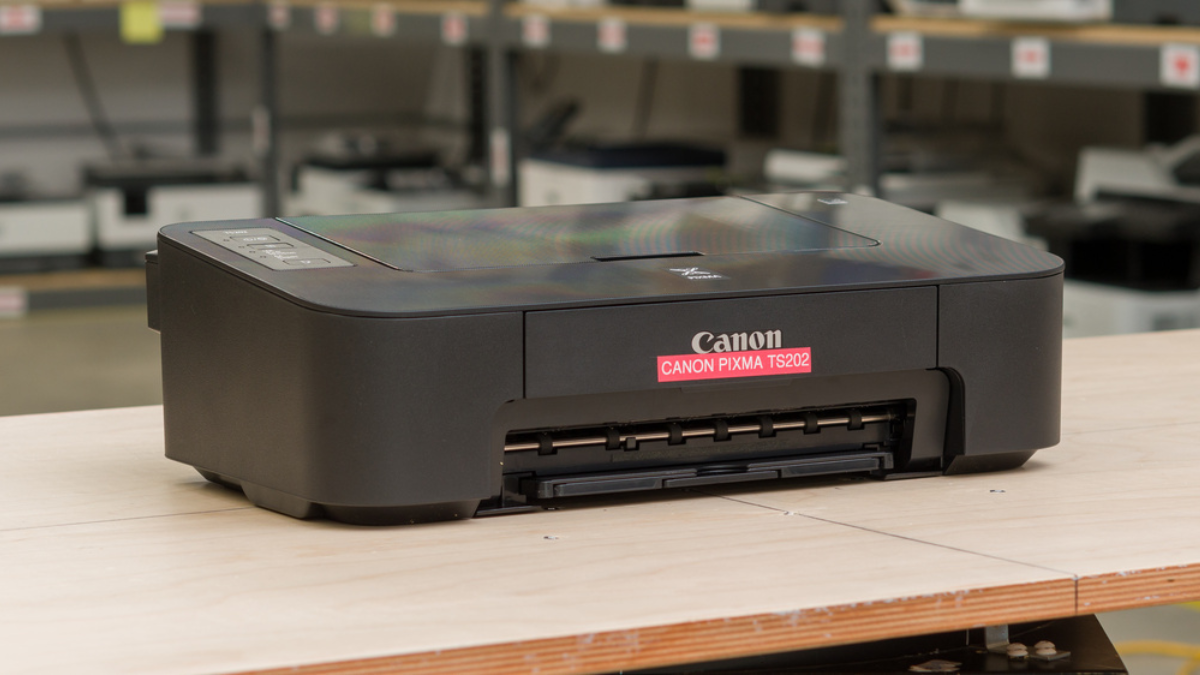
Introduction: Simplify Your Wireless Printing Experience
Setting up your Canon Pixma printer on Wi-Fi doesn’t have to be complicated. Whether you’re upgrading your home office, replacing your router, or connecting a new device, knowing how to connect a Canon Pixma printer to Wi-Fi ensures a smooth and seamless experience. This guide covers everything from Canon Pixma Wi-Fi setup to troubleshooting wireless Canon Pixma setup issues, helping you get your printer online quickly.
Step 1: Verify Wi-Fi Compatibility and Gather Essentials
Before setting up your Canon Pixma printer, make sure you have the necessary components:
- A stable Wi-Fi network with the correct credentials (SSID and password).
- A computer, smartphone, or tablet connected to the same Wi-Fi network.
- The latest Canon Pixma printer drivers and software (downloadable from Canon’s official website).
- A functioning router with a WPS button (if using a WPS setup).
- Your printer’s control panel access to configure network settings.
- Ensure your firmware is updated to prevent compatibility issues.
- Have the Canon PRINT Inkjet/ SELPHY app installed if you are setting up the printer from a mobile device.
- Ensure that the printer is placed in a location where the Wi-Fi signal strength is strong to avoid disconnection issues.
- Keep a USB cable handy, as some setups may require a temporary wired connection during the initial setup process.
Step 2: Connect Using the Printer’s Control Panel (Standard Method)
For most Canon Pixma printers, the easiest way to establish a wireless connection is through the built-in control panel. Follow these steps:
- Turn On Your Printer
- Ensure your Canon Pixma printer is powered on and ready to go.
- Access the Wireless Setup Menu
- Press the Home or Menu button on the printer’s control panel.
- Navigate to LAN Settings > Wireless LAN Setup.
- Select Your Wi-Fi Network
- Your printer will search for available networks. Choose your Wi-Fi network (SSID) from the list.
- Enter Wi-Fi Password
- Use the on-screen keyboard to input your Wi-Fi password and press OK.
- Ensure you enter the password correctly, as Wi-Fi credentials are case-sensitive.
- Confirm the Connection
- A confirmation message will appear once the printer successfully connects to the network.
- If prompted, print a test page to verify connectivity.
Step 3: Connect Using the WPS Button (Alternative Method)
If your router supports Wi-Fi Protected Setup (WPS), this method offers a quicker alternative:
- Enable WPS Mode on the Printer
- Navigate to LAN Settings > Wireless LAN Setup.
- Select WPS (Push Button Method).
- Press the WPS Button on Your Router
- Within two minutes, press and hold the WPS button on your router until it begins blinking.
- Wait for Connection Confirmation
- The printer will automatically establish a connection. Print a network configuration page to verify the connection.
- If the connection fails, move the printer closer to the router and retry.
Step 4: Install Printer Drivers and Software
For a fully functional printer, install the required drivers and software:
Windows Users
- Visit the Canon Support website and download the latest Canon Pixma drivers.
- Run the installation file and follow the on-screen instructions.
- Select Wireless Connection during setup and complete the installation.
macOS Users
- Go to System Preferences > Printers & Scanners.
- Click the + (Add Printer) button and choose your Canon Pixma printer.
- If the printer isn’t detected, install drivers from the Canon website.
Step 5: Add Printer to Windows & macOS
Once your printer is connected, you need to add it to your device:
On Windows
- Open Settings > Devices > Printers & Scanners.
- Click Add a Printer and select your Canon Pixma printer.
- Follow on-screen instructions to complete the setup.
On macOS
- Go to System Preferences > Printers & Scanners.
- Click Add Printer, select your Canon Pixma printer, and install the required drivers.
Step 6: Print a Test Page
To ensure the setup is successful, print a test page:
- Open a document or image.
- Select Print and choose your Canon Pixma printer.
- Click Print and verify if the printer functions correctly.
Additional Wireless Printing Options
If you want to print from mobile devices, consider these options:
- Canon PRINT Inkjet/SELPHY App: This app allows seamless printing from iPhones, iPads, and Android devices.
- Apple AirPrint: Enables direct printing from Apple devices without installing additional software.
- Wi-Fi Direct: Connects the printer directly to a mobile device without using a router.
- Cloud Printing Services: Services like Google Cloud Print (if previously set up) or Canon’s cloud-based printing can enable printing from remote locations.
Troubleshooting Common Issues
Even after following the setup steps, you may encounter connectivity issues. Here are some fixes:
1. Printer Not Found on Network
- Ensure the printer and device are connected to the same Wi-Fi network.
- Restart your router, printer, and computer.
- Check your firewall settings, as security software may block printer connections.
2. Wi-Fi Connection Dropping
- Move the printer closer to the router to strengthen the signal.
- Ensure no interference from electronic devices like microwaves.
- Reset network settings and reconnect.
- Change your Wi-Fi channel settings to reduce interference from neighboring networks.
3. WPS Connection Failed
- Confirm if your router supports WPS.
- Try using the standard control panel setup instead.
4. Driver Installation Issues
- Download the latest drivers from the Canon website.
- Uninstall and reinstall the printer software.
- Ensure your operating system is updated to the latest version.
5. Slow Printing Over Wi-Fi
- Use a 5GHz Wi-Fi band if available for faster printing.
- Reduce network congestion by limiting other devices using the internet.
- Adjust the printer’s quality settings to improve speed.
6. The Printer Shows as Offline
- Restart both the printer and the computer.
- Set the printer as the default device in printer settings.
- Disable the Use Printer Offline mode in Windows settings.
- Check if the printer’s firmware is up to date.
Conclusion: Enjoy Hassle-Free Wireless Printing
Now that you’ve successfully completed your Canon Pixma Wi-Fi setup, you can enjoy seamless wireless printing without tangled cables. Whether you used the control panel method, WPS setup, or troubleshooting fixes, your printer should be fully functional. If issues persist, refer to the troubleshooting section for solutions. The wireless Canon Pixma setup is now effortless—you can print from anywhere with ease!
By following these steps, you can ensure a stable, efficient, and problem-free connection, making your Canon Pixma printer a reliable tool for home or office use. Happy printing!