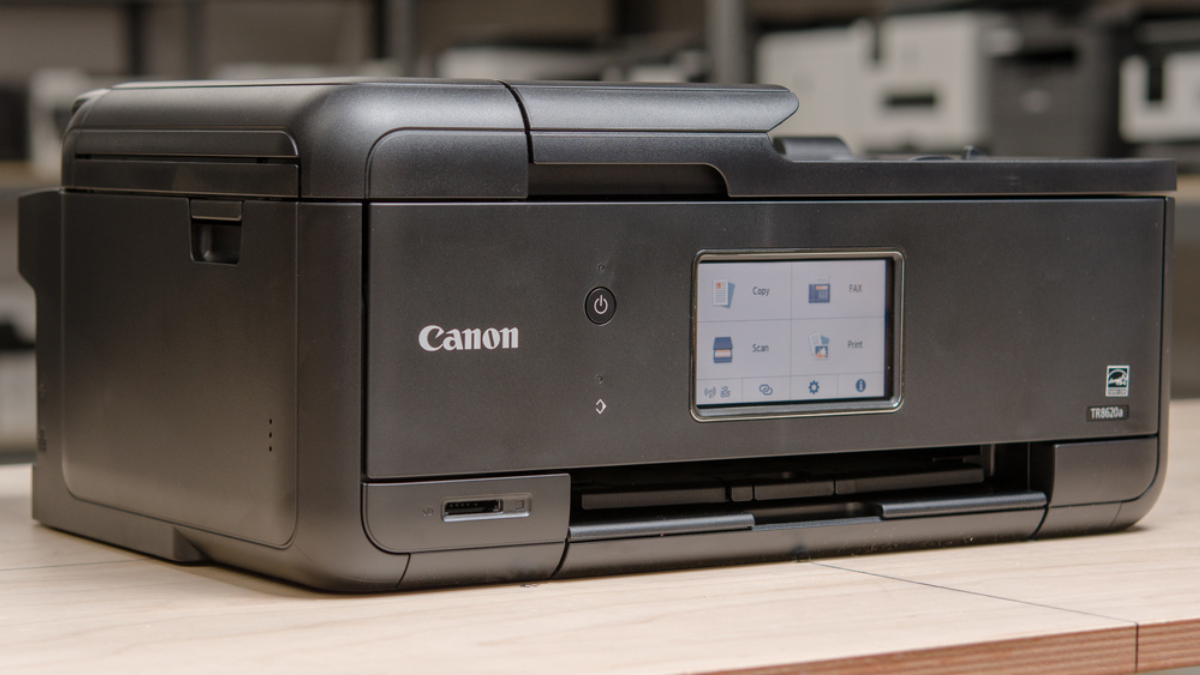
Canon printers are widely recognized for their high-quality output and user-friendly features. Whether you’re setting up your printer for the first time or reconnecting it, this guide will walk you through every step of the process. Follow along to get your printer up and running smoothly.
Why Canon Printers are Popular
Canon printers are among the top choices for both personal and professional use. Here’s why:
- Versatility: From compact home models to robust office solutions, Canon offers a range of options.
- High Print Quality: Renowned for delivering crisp, vibrant prints.
- Ease of Use: Designed with user-friendly interfaces and straightforward setup processes.
- Cost-Effective: Offers competitive pricing and economical ink consumption.
- Durability: Canon printers are built to last, making them a reliable investment.
Basic Setup
1. Unboxing and Preparing Your Printer
- Remove all packaging materials, including protective tapes and inserts.
- Check that all components, such as ink cartridges and power cables, are included.
- Place the printer on a stable, flat surface near your computer.
2. Installing Ink Cartridges and Paper
- Open the cartridge compartment and insert the provided ink cartridges. Follow the instructions in your printer’s manual to ensure proper installation.
- Load paper into the tray, aligning it with the guides to prevent paper jams.
3. Powering Up
- Plug your printer into a power source and press the power button. Wait for it to initialize.
Connecting Your Printer
1. Connecting via USB Cable
A USB connection is a reliable way to set up your printer, especially if you’re not using Wi-Fi. Here’s how:
- Plug one end of the USB cable into your printer and the other into your computer.
- Your computer should automatically detect the printer.
- If prompted, install the necessary drivers. If no prompt appears, proceed to install drivers manually (explained later).
- Once installed, print a test page to ensure the connection is successful.
2. Setting Up a Wireless Connection
Wireless setup gives you the freedom to print from anywhere within your network’s range.
Using the Printer’s Display
- Access the printer’s Settings or Network menu.
- Choose Wireless LAN Setup or Wi-Fi Setup Wizard.
- Select your Wi-Fi network from the list and enter your password.
- Wait for the confirmation message that indicates a successful connection.
Using WPS (Wi-Fi Protected Setup)
- Press the WPS button on your router.
- Within two minutes, press and hold the Wi-Fi button on your printer until the connection is established.
- Check the status light on your printer to confirm the connection.
Installing Canon Printer Drivers
Drivers are essential software that allows your computer to communicate with your printer.
1. Downloading Drivers
- Visit the official Canon website (https://www.canon.com).
- Enter your printer model in the search bar to find the appropriate drivers.
- Choose the driver compatible with your operating system (Windows, macOS, or Linux).
2. Installing Drivers
- Download the driver file and run the installer.
- Follow the on-screen instructions, which typically include selecting your connection type (USB or wireless).
- Restart your computer after installation to ensure the drivers are fully integrated.
Testing the Printer Connection
After installation, it’s essential to test the printer to ensure it’s functioning correctly.
- Open a document or photo on your computer.
- Go to File > Print and select your Canon printer from the list.
- Click Print to start the job.
- If the printout is clear and accurate, your setup is complete!
Common Troubleshooting Tips
If your Canon printer doesn’t work as expected, try these troubleshooting steps:
1. Check Connections
- Ensure the USB cable is securely connected.
- For wireless setups, verify that the printer is on the same network as your computer.
2. Restart Devices
- Power off your printer and computer, then turn them back on.
- This often resolves minor connectivity issues.
3. Update or Reinstall Drivers
- Outdated drivers can cause compatibility problems. Download the latest version from Canon’s website.
- Uninstall the current driver before reinstalling to avoid conflicts.
4. Resolve Network Issues
- If your printer isn’t connecting wirelessly, check your Wi-Fi signal strength.
- Restart your router if necessary.
5. Run Printer Diagnostics
- Most Canon printers have a built-in diagnostic tool. Use it to identify and resolve issues.
FAQs About Canon Printer Setup
1. Do I need to install drivers for my printer?
Yes, drivers are necessary for your computer to recognize and communicate with the printer.
2. Can I use my Canon printer without a USB cable?
Yes, if your printer supports wireless or Bluetooth connections, you can set it up without a USB cable.
3. What should I do if my printer isn’t detected?
Ensure your printer is powered on and properly connected. If the problem persists, reinstall the drivers or contact Canon support.
Setting up a Canon printer is a simple process when you follow the correct steps. Whether you opt for a USB connection or prefer the convenience of wireless printing, ensuring the printer is properly configured will save you time and frustration in the long run. With the proper drivers installed and a successful test print, you’re ready to enjoy high-quality prints from your Canon printer!
