Connecting your Canon printer to Wi-Fi allows you to print wirelessly from multiple devices like laptops, smartphones, and tablets. This guide will walk you through different methods for connecting your printer to your Wi-Fi network, making it easier to print without cables.
Why Connect Your Canon Printer to Wi-Fi?
Convenience: You can print from any device connected to the same Wi-Fi network without needing to physically connect the printer.
Multi-Device Support: Print from smartphones, tablets, laptops, or desktops.
Remote Printing: Some Canon printers allow you to print from anywhere via cloud printing services like Google Cloud Print (if supported).
Pre-Connection Checklist
Before starting the setup process, ensure the following:
Wi-Fi Network: Ensure your Wi-Fi network is up and running. Confirm that other devices can connect to it.
Network Details: Have your Wi-Fi network name (SSID) and password ready.
Printer Position: Ensure the printer is within range of your Wi-Fi router for a stable connection.
Printer Power: Make sure the printer is powered on and ready to connect.
Step-by-Step Guide to Connecting Your Canon Printer to Wi-Fi
Step 1: Connecting via the Printer’s Control Panel
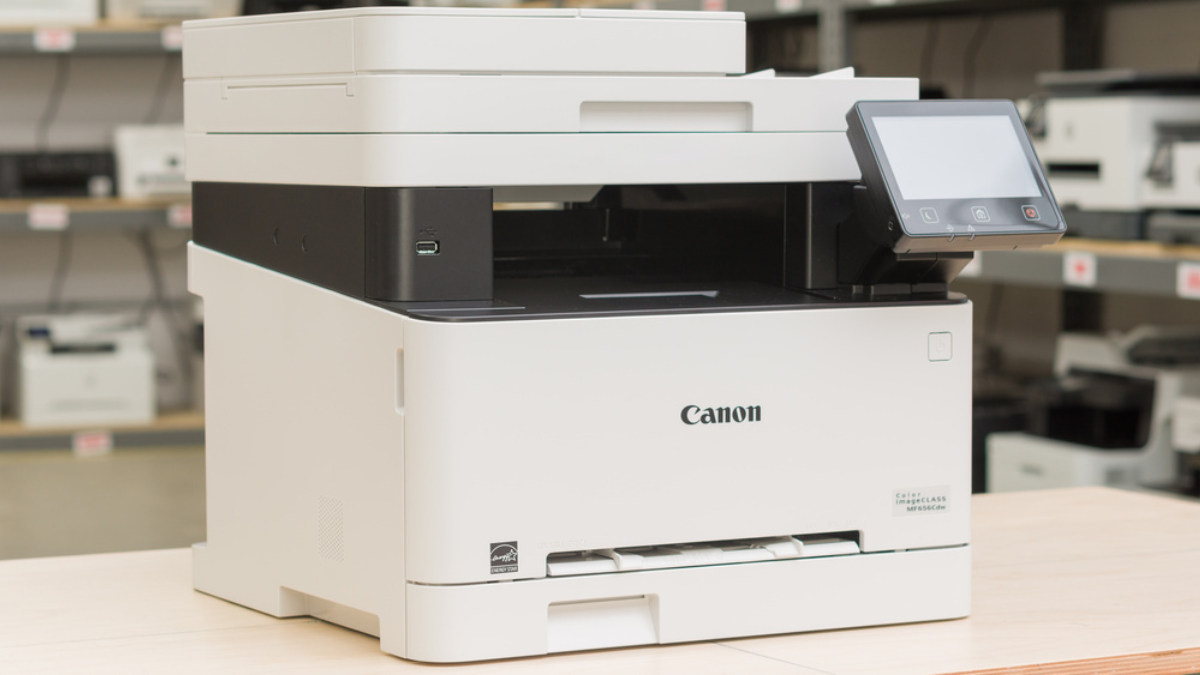
Power On the Printer: Turn on your Canon printer.
Access Wi-Fi Settings: On the printer’s control panel, navigate to the Settings or Menu option, then select Wi-Fi setup.
Select Wireless LAN Setup: Choose Wireless LAN setup (if available).
Choose Your Network: The printer will scan for available networks. Select your Wi-Fi network name (SSID) from the list.
Enter the Wi-Fi Password: When prompted, enter your Wi-Fi password. Use the printer’s control panel to type it in, ensuring the correct characters and case.
Confirm the Connection: The printer will attempt to connect to your Wi-Fi network. Once connected, the
Wi-Fi icon on the printer’s display should show a solid signal.
Step 2: Connecting via WPS (Wi-Fi Protected Setup)
If your router supports WPS, this is a quick and easy method to connect:
Locate the WPS Button: Find the WPS button on your router. It’s usually labeled “WPS.”
Initiate WPS on the Printer: On the printer’s control panel, navigate to Wi-Fi settings, then select WPS.
Press the WPS Button on the Router: Within two minutes, press the WPS button on your router.
Confirm the Connection: The printer should automatically connect to the router via WPS. When the connection is successful, the printer’s Wi-Fi icon should show a solid signal.
Step 3: Using the Canon Print App (for Mobile Devices)
Download the Canon Print App: Download the Canon PRINT Inkjet/SELPHY app from the App Store (iOS) or Google Play Store (Android).
Open the App: Launch the Canon Print app on your mobile device.
Follow the Setup Instructions: The app will prompt you to connect your Canon printer to your Wi-Fi. Follow the on-screen instructions, including entering your Wi-Fi network name and password.
Complete the Setup: After entering the details, the app will complete the wireless setup and enable you to print from your mobile device.
Troubleshooting Common Issues
Printer Not Detecting Network: Ensure your Wi-Fi router is working and that the printer is within range. Try restarting the printer and router, and then attempt the setup again.
Incorrect Password: Double-check the Wi-Fi password. If you’re unsure, try re-entering it or check for typos.
Printer Fails to Connect: If the printer continues to fail to connect, perform a factory reset on the printer’s network settings, then try the setup again.
Signal Interference: Ensure there are no physical obstructions (e.g., walls, metal objects) between the printer and the router that could block the signal.
Wi-Fi Channel Issues: Some printers may have trouble connecting on specific Wi-Fi channels (e.g., 5GHz). Ensure your router is broadcasting on 2.4GHz if your printer doesn’t support 5GHz.
Conclusion
Connecting your Canon printer to Wi-Fi is a simple process that can save you time and effort by enabling wireless printing. By following this guide, you should be able to set up your printer in no time. If you encounter any issues, refer to the troubleshooting tips or contact Canon support for further assistance.