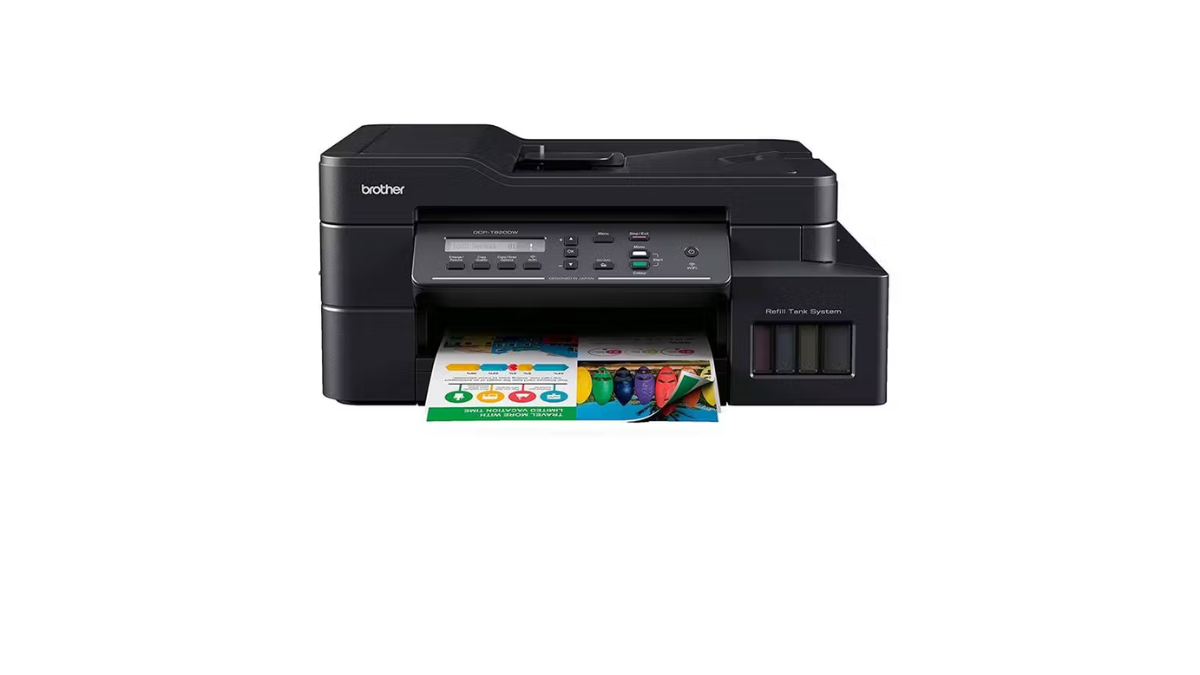
Whether you’re setting up a brand-new Brother printer or reinstalling drivers on an existing device, having the correct printer driver installed is essential. Brother printer drivers are pieces of software that allow your computer to communicate effectively with your printer. Without these drivers, your printer will not function as expected—it may not print correctly, or it might not respond at all.
This comprehensive guide will walk you through how to download and install Brother printer drivers on both Windows and Mac computers. We’ll also cover troubleshooting tips and provide best practices for ensuring your printer remains up-to-date and fully functional.
Why Are Printer Drivers Important?
Printer drivers act as translators between your printer and computer. They convert the data you send into a format the printer understands. Each printer model has specific drivers tailored for the hardware and compatible with particular operating systems. Installing the correct driver ensures:
- Smooth and accurate printing
- Access to all printer features (e.g., scanning, duplex printing)
- Stability and compatibility with your OS
- Fewer printer errors or malfunctions
Step-by-Step Guide to Download Brother Printer Drivers
Step 1: Identify Your Brother Printer Model
Before downloading the appropriate driver, you need to know the exact model of your Brother printer. This information is usually located:
- On the front or top panel of the printer
- On a label on the back or bottom
- Inside the ink cartridge or toner compartment
Example Models:
- Brother HL-L2350DW
- Brother MFC-J995DW
- Brother DCP-L2540DW
Step 2: Visit the Official Brother Website
Always download drivers from the official Brother website to ensure security and compatibility.
- Open your browser and go to: https://support.brother.com
- Click on the Support or Downloads section at the top of the homepage.
Step 3: Search for Your Printer Model
- Type your printer model in the search bar.
- Click on your printer from the auto-suggestions or search results.
Step 4: Choose Your Operating System
Brother’s support page will automatically detect your OS, but you can manually select it if needed.
- Choose from Windows, macOS, or Linux.
- Make sure to select the correct version (e.g., Windows 11, macOS Sonoma, etc.)
Step 5: Download the Driver
You will typically find options like:
- Full Driver & Software Package – Recommended for most users.
- Printer Driver Only – For basic printing functions.
Click Download to begin. Save the file in an easily accessible location, such as the Downloads folder or Desktop.
Installing Brother Printer Drivers on Windows
Step 1: Locate the Downloaded File
- Navigate to the folder where you saved the driver (usually Downloads).
- Look for a file with a .exe extension (e.g., BrotherPrinterDriver.exe).
Step 2: Run the Installer
- Double-click the file to launch the installation wizard.
- If prompted by User Account Control, click Yes to proceed.
Step 3: Follow the On-Screen Instructions
- Accept the license agreement.
- Select your preferred connection type:
- USB: Plug in the USB cable when prompted.
- Wireless (Wi-Fi): Choose your network and enter the password.
The installation wizard will detect the printer and complete the setup.
Step 4: Test the Printer
- Open any document and click Print.
- Choose your Brother printer from the list.
- Click Print and confirm that a test page prints correctly.
Installing Brother Printer Drivers on Mac
Step 1: Locate the Downloaded File
- Open the Downloads folder.
- Find the .dmg file (e.g., BrotherPrinterDriver.dmg).
Step 2: Run the Installer
- Double-click the .dmg file to mount it.
- Open the installer and follow the on-screen instructions.
- You may need to drag the application to your Applications folder if prompted.
Step 3: Follow the Setup Wizard
Choose your connection method:
- USB: Connect the cable when prompted.
- Wi-Fi: Enter your wireless network details.
Let the wizard complete the installation.
Step 4: Add the Printer
- Go to System Preferences > Printers & Scanners.
- Click the + button to add a new printer.
- Select your Brother printer from the list and click Add.
Step 5: Test the Printer
- Open a document and select Print.
- Choose your Brother printer and print a test page to ensure it’s working correctly.
Troubleshooting Tips for Brother Printer Driver Installation
Even with clear steps, you may occasionally encounter issues. Here are some common problems and how to solve them:
Printer Not Detected
- Make sure the printer is powered on.
- Check all cables and connections.
- Restart both the printer and your computer.
Installation Fails or Freezes
- Temporarily disable antivirus software and firewall.
- Re-download the installer to ensure the file isn’t corrupted.
- Run the installer as Administrator (right-click > “Run as administrator”).
Wi-Fi Setup Not Completing
- Ensure your printer and computer are on the same network.
- Move the printer closer to your Wi-Fi router.
- Reset network settings on the printer and try again.
Keeping Your Brother Printer Drivers Up to Date
To get the best performance, it’s crucial to regularly update your printer drivers. Updated drivers can fix bugs, enhance features, and maintain compatibility with your operating system.
How to Check for Updates:
- Visit https://support.brother.com
- Search for your printer model.
- Download the latest available driver and repeat the installation process.
You can also use the Brother iPrint&Scan app or Brother Utilities (for Windows) to automate updates.
Conclusion
Installing Brother printer drivers is a relatively simple process when done correctly. Whether you’re setting up for the first time or reinstalling after a system update, following the steps in this guide ensures your printer functions optimally.
Pro Tip: Bookmark the official Brother support page and keep your model number handy for future reference.
By keeping your drivers updated and knowing how to troubleshoot, you can avoid printing headaches and enjoy smooth performance for years to come.
