Setting up an HP printer may seem daunting, but with the right approach, it can be a straightforward process. Whether you’re setting up a printer at home or in the office, ensuring it’s properly configured is essential for smooth operation. This guide will walk you through each step, from unboxing to testing, so you can start printing efficiently in no time.
Why Proper Printer Setup is Essential
A correctly configured printer not only saves time but also ensures optimal performance. Missteps during the setup process can lead to connectivity issues, print quality problems, or even hardware malfunctions. By following a structured setup process, you can avoid these pitfalls and get the best out of your HP printer.
Before You Begin: What You’ll Need
To ensure a smooth setup, gather the following items:
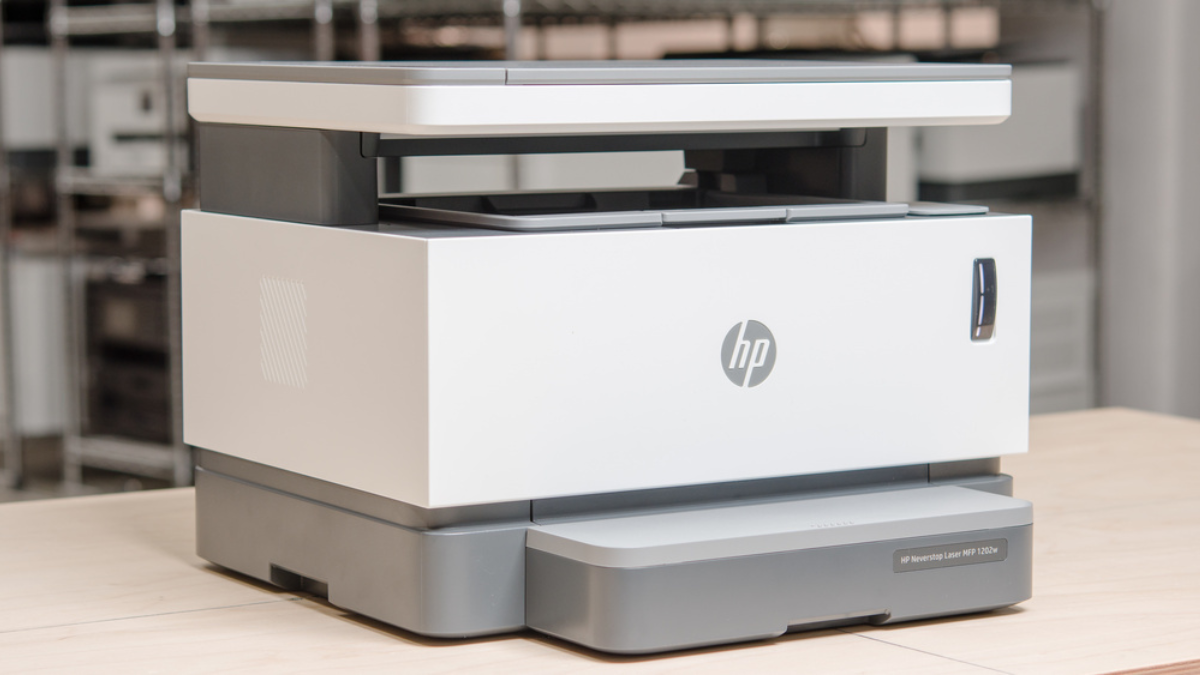
- Your HP printer
- Ink cartridges (typically included in the box)
- Power cable
- A computer or mobile device
- A stable Wi-Fi connection
- The printer’s manual (optional but helpful)
- Paper for testing
Step 1: Unboxing Your HP Printer
- Open the box: Carefully open the packaging and remove all items.
- Check contents: Ensure that the box contains the printer, ink cartridges, power cable, manual, and any additional accessories.
- Remove protective materials: Take off all tapes, stickers, and protective coverings from the printer.
- Place the printer: Choose a flat, stable surface near a power outlet and, if applicable, within range of your Wi-Fi router.
Step 2: Installing Ink Cartridges
- Access the cartridge compartment: Open the printer’s front or top panel to locate the ink cartridge slots.
- Prepare cartridges: Unwrap the cartridges, being careful not to touch the copper contacts or ink nozzles.
- Insert cartridges: Slide each cartridge into its designated slot, following the color codes or instructions provided.
- Close the compartment: Ensure the panel is securely shut to avoid errors during operation.
Step 3: Connecting Your Printer to Power
- Plug in the power cable: Connect the cable to the printer and a power outlet.
- Turn on the printer: Press the power button and wait for the printer to initialize. Follow any on-screen prompts to set the language, date, and time.
Step 4: Setting Up the Printer’s Wi-Fi Connection
- Access network settings: Navigate to the printer’s control panel and select the Wi-Fi or network setup option.
- Choose a network: Select your Wi-Fi network from the list of available options.
- Enter the password: Use the on-screen keypad to input your Wi-Fi password.
- Confirm connection: Wait for a message confirming that the printer is successfully connected to the network. If the connection fails, double-check the password and try again.
Step 5: Installing Printer Software on Your Computer
- Visit the HP website: Go to HP’s official support site and download the latest drivers and software for your printer model.
- Run the installer: Open the downloaded file and follow the on-screen instructions to install the software.
- Connect the printer: During installation, you’ll be prompted to connect the printer. Choose either a Wi-Fi connection or a USB cable, depending on your setup preference.
- Complete setup: Finish the installation process and restart your computer if prompted.
Step 6: Testing Your Printer
- Load paper: Place a stack of paper in the printer’s input tray.
- Print a test page: Access the printer’s menu or software on your computer to print a test page.
- Check print quality: Examine the test page for any issues, such as streaks or misaligned text. If problems persist, run the printer’s built-in troubleshooting tool.
Troubleshooting Common HP Printer Setup Issues
- Wi-Fi connection problems: Ensure the printer is within range of the router and that the Wi-Fi password is correct. Restart the printer and router if needed.
- Ink cartridge errors: Double-check that cartridges are correctly installed and compatible with your printer model.
- Driver installation issues: Verify that you’ve downloaded the correct software for your printer and operating system.
- Print quality concerns: Clean the printhead and align the cartridges using the printer’s maintenance tools.
Conclusion
Setting up your HP printer doesn’t have to be a hassle. By following this step-by-step guide, you can avoid common pitfalls and enjoy seamless printing. Whether for work or personal use, a properly configured printer ensures you’re always ready to tackle your printing needs with ease.