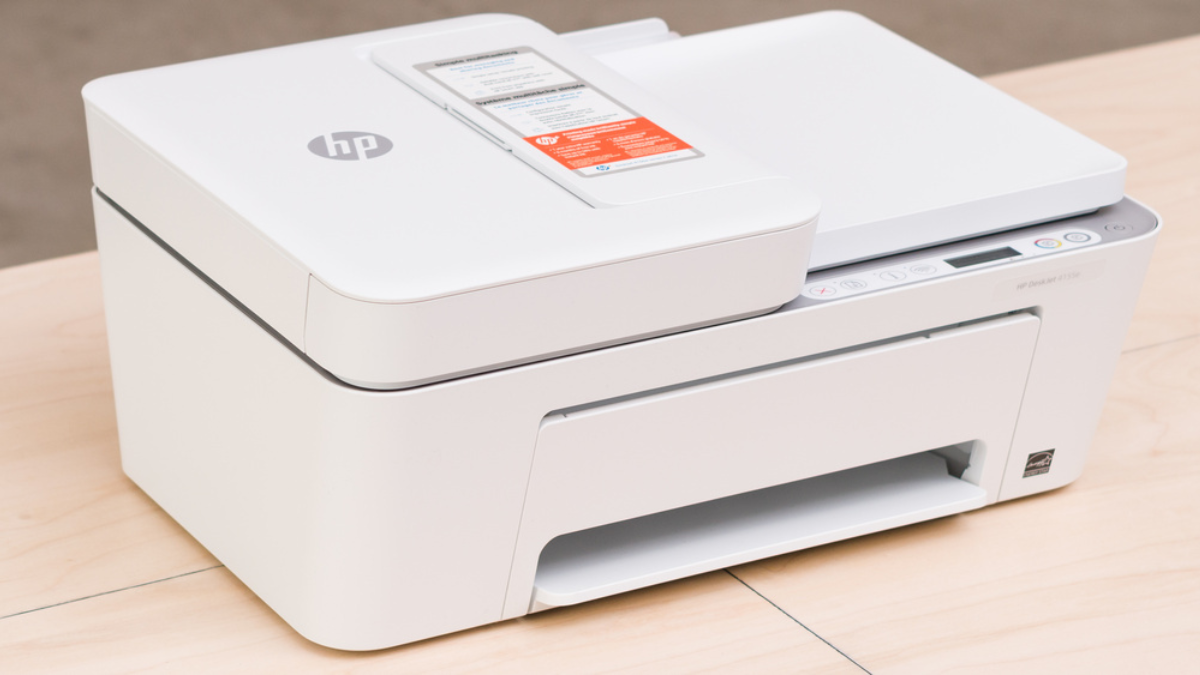
Setting up a wireless HP printer can significantly enhance your printing experience by allowing you to print from multiple devices without the hassle of cables. This guide provides a detailed walkthrough of the setup process, from unboxing to troubleshooting common issues, ensuring a seamless connection between your HP printer and your Wi-Fi network.
Unboxing and Preparing Your HP Wireless Printer
1. Unboxing the Printer
- Contents Check: Ensure the package includes the printer, power cord, ink cartridges, user manual, and any installation CDs.
- Inspection: Examine the printer for any visible damage that may have occurred during shipping.
2. Removing Packaging Materials
- Protective Tapes: Remove all tapes and protective materials from the exterior and interior of the printer.
- Cartridge Access: Open the ink cartridge access area to remove any packing materials inside.
3. Powering Up the Printer
- Connection: Plug the power cord into the printer and a wall outlet.
- Activation: Press the power button to turn on the printer.
- Language and Region Settings: Use the printer’s control panel to select your preferred language and region.
4. Installing Ink Cartridges
- Access: Open the ink cartridge access door.
- Insertion: Unpack the ink cartridges and insert them into their corresponding slots, ensuring they click into place.
- Alignment: Close the access door and follow any on-screen prompts to align the cartridges, which may involve printing an alignment page.
5. Loading Paper
- Tray Preparation: Pull out the paper input tray and adjust the paper width guides.
- Loading: Place a stack of plain paper into the tray, aligning it properly.
- Final Adjustments: Slide the paper guides so they rest against the edges of the paper without bending it.
Connecting Your HP Printer to Wi-Fi
Establishing a wireless connection allows for convenient printing from various devices on the same network.
1. Using the Wireless Setup Wizard (For Printers with a Touchscreen)
- Accessing Settings: On the printer’s control panel, tap the Wireless icon or navigate to the Network menu.
- Setup Initiation: Select Wireless Setup Wizard.
- Network Selection: From the list of available networks, choose your Wi-Fi network (SSID).
- Password Entry: Enter your Wi-Fi password using the on-screen keyboard.
- Confirmation: After entering the password, the printer will attempt to connect to the network. A success message will confirm a successful connection.
2. Using Wi-Fi Protected Setup (WPS) (For Printers Without a Touchscreen)
- Router Compatibility: Ensure your router supports WPS.
- Printer Preparation: Press and hold the Wireless button on the printer until the wireless light starts blinking.
- Router Activation: Within two minutes, press the WPS button on your router.
- Connection Confirmation: The printer’s wireless light will stop blinking once the connection is established.
3. Using HP Smart App
- App Installation: Download and install the HP Smart App on your computer or mobile device.
- Printer Detection: Open the app and tap the Plus sign to add a new printer. The app will search for available printers.
- Connection Setup: Select your printer from the list and follow the on-screen instructions to connect it to your Wi-Fi network.
Installing the Printer Software on Your Computer
To fully utilize your printer’s features, installing the appropriate software and drivers is essential.
1. Using the Installation CD
- Insertion: Insert the provided CD into your computer’s CD drive.
- Installation Wizard: Follow the on-screen prompts to install the necessary software and drivers.
2. Downloading from the HP Website
- Accessing the Site: Navigate to the HP Support Page.
- Driver Selection: Enter your printer model to find the appropriate software and drivers.
- Download and Installation: Download the software and follow the installation prompts.
3. Using the HP Smart App
- App Functionality: The HP Smart App can automatically detect your printer and install the necessary software.
- Setup Process: Open the app, add your printer, and follow the on-screen instructions to complete the setup.
Connecting Your HP Printer to Your Computer
After installing the software, establish a connection between your printer and computer.
1. Wireless Connection
- Automatic Detection: During software installation, your computer should detect the printer on the same Wi-Fi network.
- Manual Addition: If not detected, add the printer manually through your computer’s Devices and Printers settings.
2. USB Connection (Alternative Method)
- Cable Connection: Connect a USB cable from the printer to your computer.
- Driver Installation: The computer should automatically detect the printer and install the necessary drivers. If not, install them manually as described above.
Testing the Printer Connection
Ensure the setup was successful by performing a test print.
1. Printing a Test Page
- Document Selection: Open any document or image on your computer.
- Print Command: Click on File > Print, select your HP printer, and click Print.
- Output Verification: Check if the printer produces the document correctly.
